How to Run Custom Models on Raydance.ai
Running custom fine-tuned models usually means a local GPU, a pile of dependencies, and a workflow you have to rebuild every time something updates. Raydance.ai removes all of that: you pick a model, hit connect, and a cloud pod spins up with the model and our LoRAs already baked in.
This guide walks you through the whole path - from creating an account to your first high-quality generation - and shows you where the settings that actually matter live.
What You'll Learn
Why Raydance.ai?
Raydance doesn't just resell stock checkpoints. The platform runs custom trained and fine-tuned models built on top of Krea 2, Flux, and Z-Image, and we uploaded our own custom LoRAs directly to Raydance. That combination means one-click deployment of a full generation stack and the highest quality output available on the platform - without wiring a single node yourself.
Step-by-Step Process
Step 1: Create Your Raydance.ai Account
- Go to Raydance.ai and sign up
- Confirm your email and log into the dashboard
- Check your credit balance in the top right - every generation and every minute of pod time is paid from it
Support Our Work
If this guide helps you, sign up through our link: raydance.ai. It costs you nothing extra and directly supports the models, LoRAs, and guides we publish on DiffHub.
Step 2: Open Your Account Settings
- Click your avatar in the top right corner of the header
- Select "Settings" from the dropdown
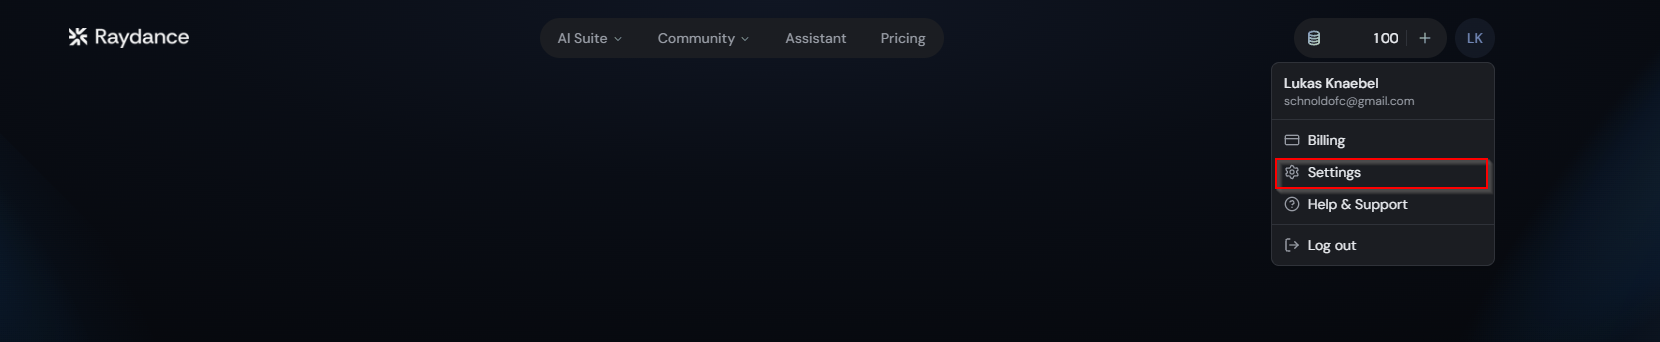
Open the avatar dropdown in the top right and choose Settings
Step 3: Enable Raydance Red in Preferences
- Open the "Preferences" tab in the settings sidebar
- Toggle on the adult content switch at the top of the page to unlock Raydance Red
- Verify your age if your region requires it - availability is region-dependent and shown right under the toggle
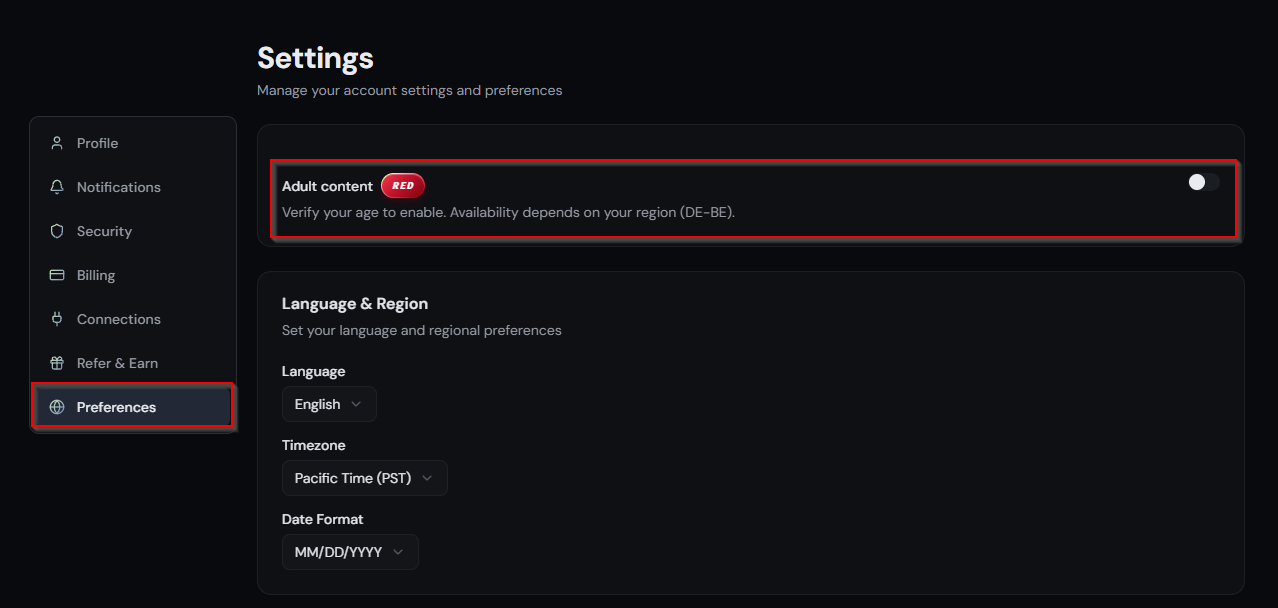
Activate Raydance Red under Preferences - depending on your region you'll need to verify your age first
Region Availability
The toggle tells you which region rule applies to your account. If verification is required, complete it before continuing - the Red models won't appear in the model dropdown until the switch is active.
Step 4: Open the Image Generator
- Open "AI Suite" in the header navigation
- Choose "Image Generator" from the Generate column
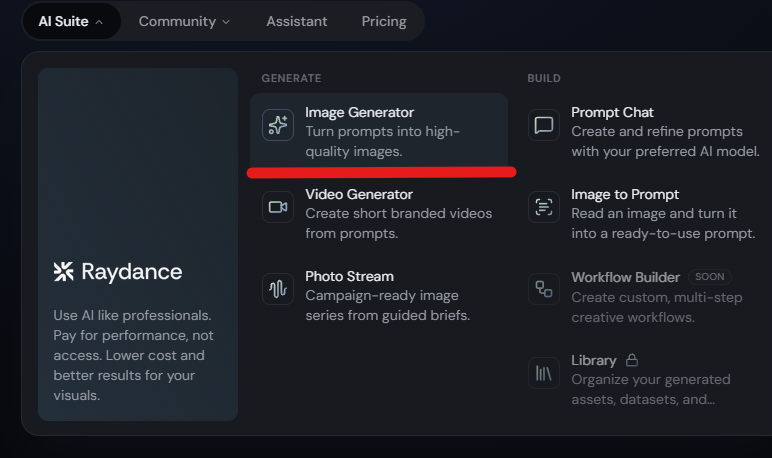
AI Suite > Image Generator in the main navigation
Step 5: Choose a Custom Model
- Open the model dropdown at the top of the generation panel
- Pick one of the custom models listed under Custom Models - these are the fine-tunes, not the frontier API models
- Check the per-hour cost shown next to each model before you commit
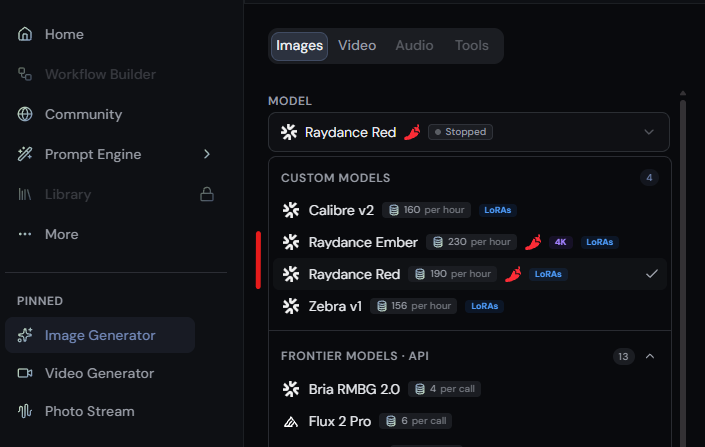
The custom models list - Raydance Red and Raydance Ember are the two to know
Which one should you pick?
- Raydance Red - faster generations with general upscaling. The right default for prompt exploration.
- Raydance Ember - up to 4K output, additional detailers, and focused upscaling. Noticeably slower, but the quality ceiling is much higher.
Pro Tip
Start on Raydance Red while you're testing prompts. Once you've got a prompt and LoRA stack you actually like, re-run it on Ember for the final image.
Step 6: Connect to Your Pod
- Scroll to the bottom of the generation panel
- Press "Connect" to start a cloud pod for the selected model
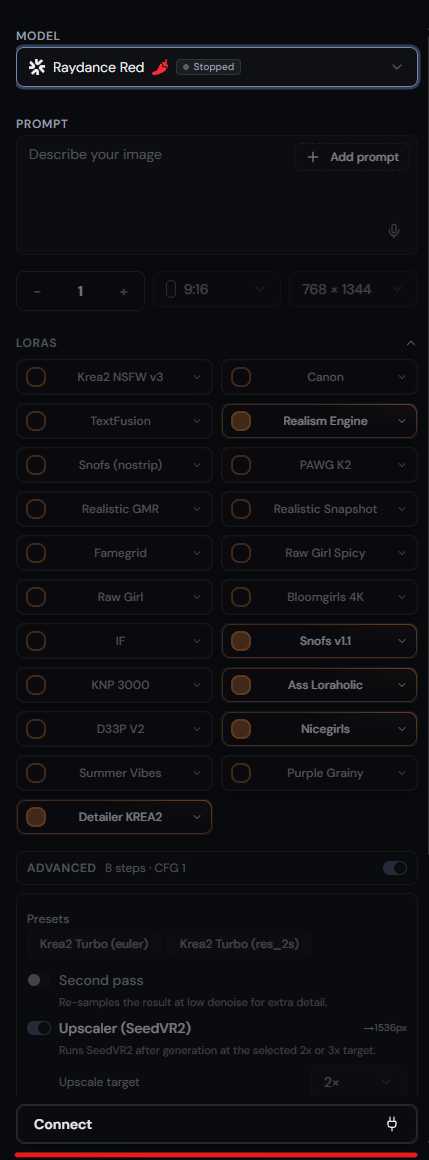
The Connect button at the bottom of the generation panel
Step 7: Wait for the Warm-Up
Connecting starts a cloud server that loads the custom model and its LoRAs. While that happens, the model badge shows Warming up.
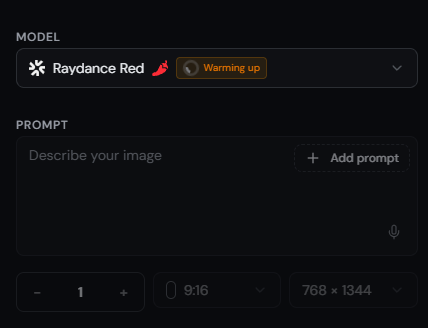
The model badge switches to "Warming up" while the pod boots
- Typical warm-up time is 2-3 minutes
- Start-up can take longer when the platform is under heavy load or GPUs are temporarily unavailable
- If loading drags on, disconnect and reconnect - you'll usually land on a free GPU on the second try
When the badge flips to Running, the pod is live and you can start configuring the UI.
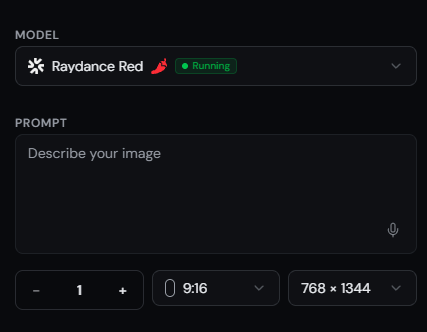
A green "Running" badge means the pod is ready
Step 8: Choose Your LoRAs
- Open the LORAS section in the generation panel
- Toggle on the LoRAs you want in the stack
- Expand any LoRA with the chevron to set its weight
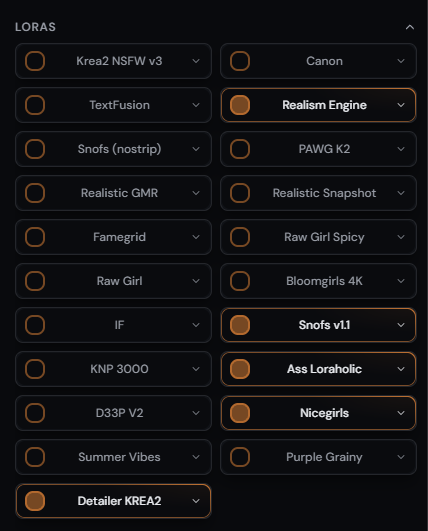
Enable the LoRAs you want and set their weights individually
Don't Over-Stack
Adding too many LoRAs or pushing weights too high is the single most common reason for bad output. Some LoRAs shift the image drastically even at low weights, so change one at a time and learn what each one does before combining them.
Pro Tip
The fastest way to learn the stack is to recreate images from the Community (Step 10). You immediately see which LoRAs were used, at what weights, and how the prompt was written to match them.
Step 9: Review the Advanced Settings
The ADVANCED section exposes the sampler settings - presets, second pass, upscaler, steps, CFG, denoise, eta, sampler, and scheduler.
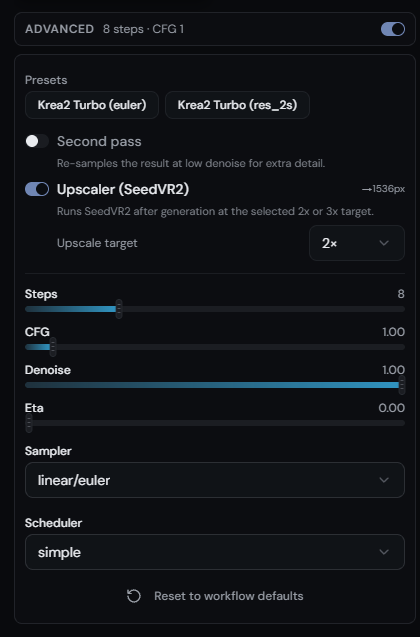
The advanced panel with presets, upscaler, and sampler settings
Leave these on their defaults for now. The presets are tuned for the model you selected, and changing steps or CFG before you understand your prompt makes it impossible to tell what caused a bad result. "Reset to workflow defaults" at the bottom always brings you back.
Step 10: Configure Detailers and Upscaling (Ember)
Raydance Ember adds an Ultimate SD upscale stage plus targeted face / hand / genital / eye detailers that run on the upscaled image.
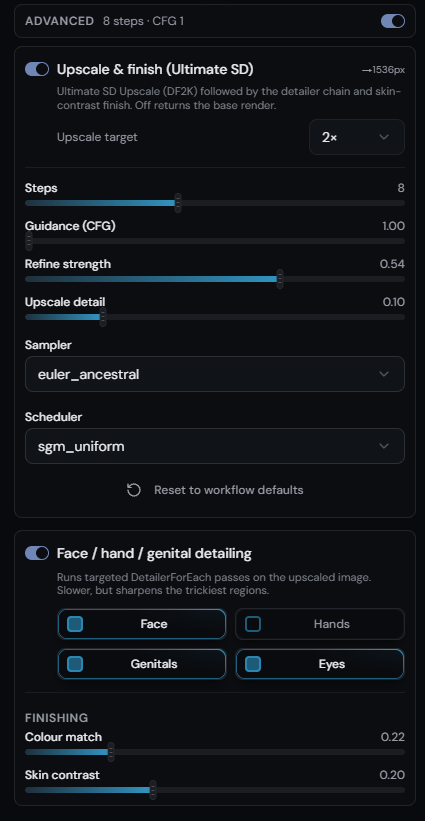
Ember's upscaling stage and detailer selection
- For faster generations: stay at 2x upscaling and reduce the number of active detailers
- For best results: go 4K with all detailers enabled - or at least three of them
- Finishing (colour match, skin contrast): keep the preset values, or dial in your own look once you know the model
Speed vs. Quality
Every detailer is an extra pass on the upscaled image. They sharpen the regions that usually fall apart, but each one adds time - and pod time is what you're paying for.
Step 11: Find Prompts in the Community
The Community gallery is the fastest source of working prompts and LoRA settings.
- Open "Community" from the sidebar
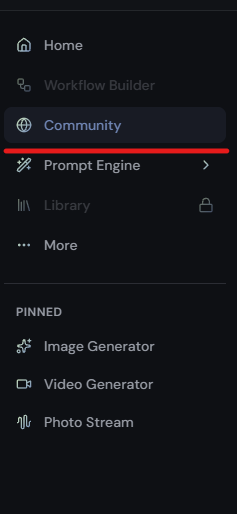
Community in the left sidebar
- Activate the Raydance Red toggle at the top of the gallery

Switch on Raydance Red at the top of the Community Gallery
- Hit "Recreate" on any image to load its exact prompt and settings - or copy the prompt and run it against your own stack
Recreate loads the full setup behind an image
Pro Tip
Recreating a few Community images before writing your own prompts is the single biggest shortcut to consistent, high-quality results. You learn the prompt structure and the LoRA weights that the model actually responds to.
Step 12: Turn Any Image Into a Prompt
Raydance also ships a vision model that reads an image and writes the prompt for it.
- Drag and drop any image into the prompt window
- Let the vision model analyse it and generate a ready-to-use prompt
- Copy the result into your generation panel and adjust from there
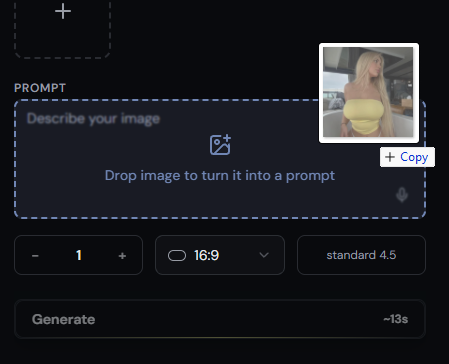
Drop an image into the prompt field to turn it into a prompt
Pick the Right Model
Use the Abliteration model for this feature. The other vision models will refuse or water down the description, which defeats the purpose of the reverse-prompting workflow.
Recommended Workflow
Once everything is set up, this is the loop that gets the most out of the platform for the least pod time:
- Connect Raydance Red and let it warm up
- Recreate a Community image that's close to what you want
- Adjust the prompt and change one LoRA at a time until the output is where you want it
- Switch to Raydance Ember at 4K with detailers for the final render
- Disconnect the pod when you're done - it bills for as long as it runs
Pro Tip
Keep a text file of the prompts and LoRA weight combinations that worked. The stack is powerful precisely because it's tunable, and your own notes beat re-deriving the same settings a week later.
Wrapping Up
You now have custom fine-tuned models running on cloud hardware, our LoRAs deployed in one click, a proven source for prompts, and a vision model that reverse-engineers any reference image. No installs, no VRAM limits, no workflow wiring.
Happy generating!